General Configuration
Main Content
To optimize system administration operations, we will guide you through some default settings related to:
Business information displayed on files sent to customers (Quotes, payment proposals, receipts...)
Configure email address for the system to serve sending/receiving emails
Activate some reporting functions to send periodic emails or automatic emails to wish customers happy birthday, thank customers after the tour, remind customers of departure schedule before the date of departure...
Some other settings
More Information
Access: System > General setting > General
1. Profile
You need to enter full information in this area, because this data will be used for different areas in the system: Supplier, File Export System (PDF, Word, Excel), Service Order Form, Receipts, contact information are in the service booking email with NCC, etc.
Some fields of information that need to be completed are:
- Name
- Logo
- Address
- Phone number
- Website
2. Bank account
The function helps to list the bank accounts that the business is using
To add a new bank account that the business owns, click ![]()
After entering all the information fields, Click ![]() to complete
to complete
To edit 01 existing bank account, click ![]()
To delete information on an account that is no longer in use, click ![]()
Access: System > General setting > Configuration > Email
The system is supporting 03 forms of Email configuration including:
- PHP mail: Refer at Quackit, php.net
- Sendgrid API Key: Refer at Sendgrid
- Google SMTP Mail: Refer to the SMTP protocol at Google
Note:
Our instructions regarding email account settings provided by 3rd parties (Sendgrid, Email Google...) are for reference only. In some cases, the 3rd party provider updates the version or settings on each different individual account, resulting in a difference in user display when you act as our instructions, you Please contact or look up instructions from your service provider for correct information. Best regards!
1. Google SMTP Mail
a) Setup a google email account
Step 1: Enable IMAP
- Consult our guide or look up the information provided by Google
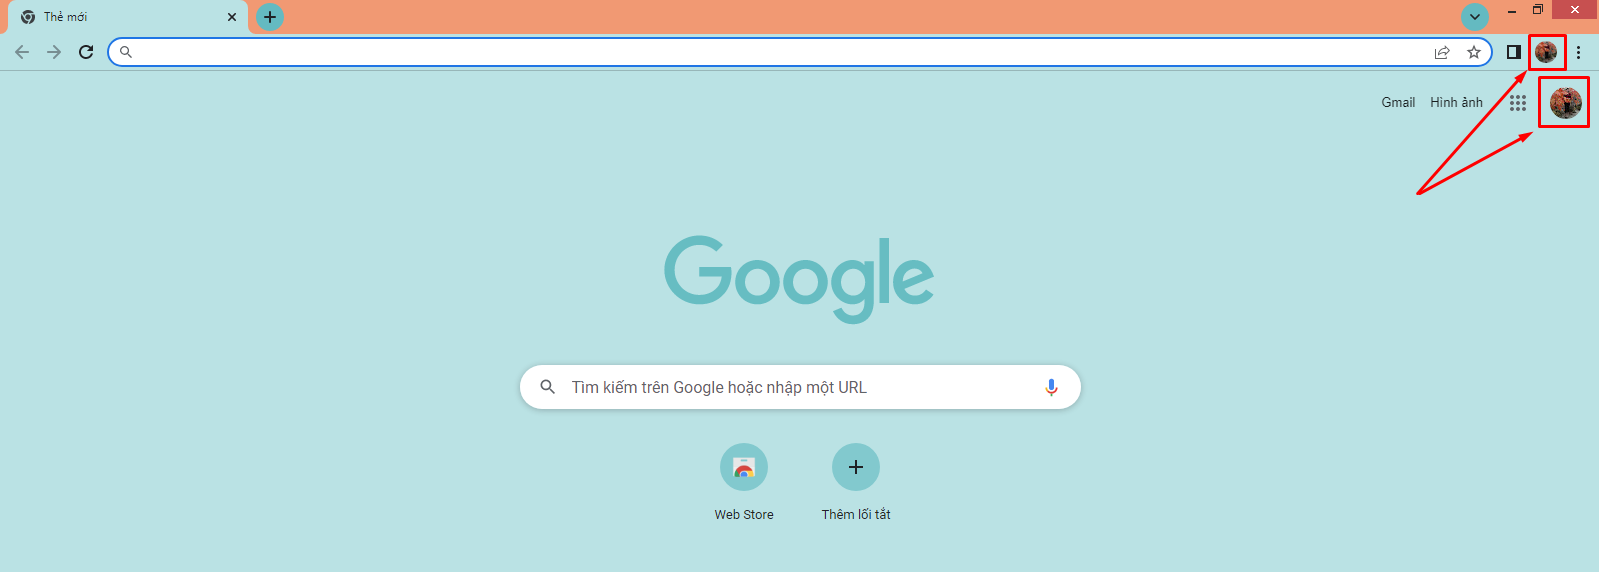
- On your computer, open Gmail. At the top right, click Settings View all settings
- Click the Forwarding and POP/IMAP tab. Under "IMAP Access," select Enable IMAP. Click Save Changes.
Step 2: Turn on 2-Step Verification
Refer to our guide or look up the information Google provides:
Open your Google Account In the navigation panel, select Security. Under "Signing in to Google," select 2-Step Verification Get Started. Follow the steps on the screen
Step 3: Set App Password
Consult our guide or look up the information Google provides: Go to your Google Account Select the Security section.
- In the "Sign in to Google" section, select App passwords. You may need to sign in. At the bottom, select Select app and select the app you're using Select device and select the device you're using Create.
- Follow the instructions to enter the App Password. The app password is a 16-character code in the yellow bar on your device. (Please copy this code to install in your business TravelMaster software)
- Click Done
b) Configure system email in TravelMaster
The information includes:
- Mail Type: select Google SMTP Mail
- SMTP Port: 587
- SMTP Host: smtp.gmail.com
- SMTP Username: Enter the email you just set up in item a (When sending an email to the Customer, the Provider will display the email sent from this address) (*)
- SMTP Password: Enter the application access password you copied in the step of Setting up the application password (**)
- SMTP SSL Type: Tick select TLS
- System Emails From Name: Email name you want to display to your customers (Brand Name)
- System Emails From Email: Email address to receive Reply (Reply email) from Customer, Supplier. Particularly for the operator area to order services with NCC, when NCC replies to the email, it will be sent to the operator's email (the operator's email is used to log in to the system and perform the service order operation)
- BCC Messages: Email address to receive BCC of all emails sent from the system, click Save to save the email configuration just set up, click SendTest to check. If the screen shows Email Sending Successfully it is Installed Successfully. If the screen shows Email Sending Failed as Email Configuration Failed and you need to recheck Email Configuration or items (*) and (**).
Note: If the above steps are correct and SendTest fails, you can set up 1 more step in your email as follows:
- Unlock Capcha Email
Consult our guide or look up the information provided by Google
If you have 2-Step Verification turned on and are trying to sign in to your Google Account through a device, mobile app, or desktop, you'll need to allow access to your account
- To unlock captcha, you need:
Login to your email account on the internet browser using step 2: Click the unlock capcha link to allow access. When unlocking captcha, the Email Account logged in on the Browser must match the email you are setting up
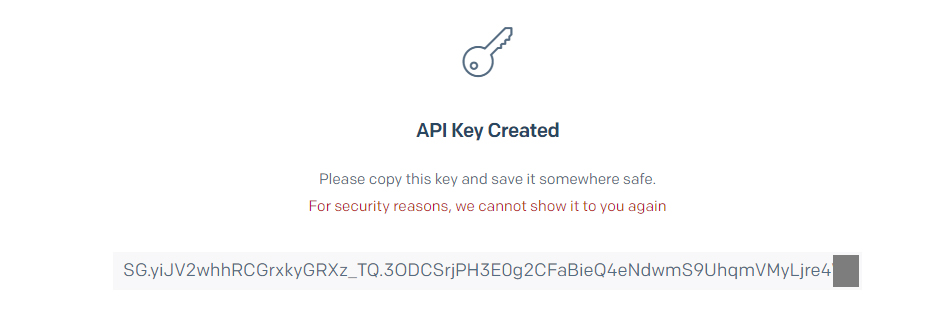
2. SendGrid Email
- Mail Type: Select Sendgrid API
- Mail API Key: See instructions to get the code and generate the key here
In there:
+ System Emails From Name: Email name you want to display to your customers (Brand Name)
+ System Emails From Email: Email address you want to show to customers (Only for display, not outgoing email)
+ BCC Messages: Email address to receive BCC of all emails sent from the system Click Save to complete the installation process. Click SendTest to test. The system will notify you that the installation is successful. If Report Fail, please check API Key again.
Access: System > General setting > Cron jobs
- Is a function to help you manage and schedule automatic email sending from the system according to specific functions such as:
- Email to congratulate the customer's birthday
- Email reminder before going on tour
- Email to thank customers after the tour
- Email reminders for work: Sales, Operations, Accounting, Report to Director.
- Email Notice of supplier debt...
- To change the state from Active (inactive) to Active (active), you click on ![]() and check the box Activity of that function.
and check the box Activity of that function.
In there:
+ Minutes/Hours: Is the time the system runs the cronjob and retrieves the appropriate data. Therefore, you are required to enter a specific time of day (Example: 8:00, 9:30 ...)
+ Other fields: You leave * by default the system runs data every day. Click ![]() to complete the installation
to complete the installation
Access: System > General setting > Others
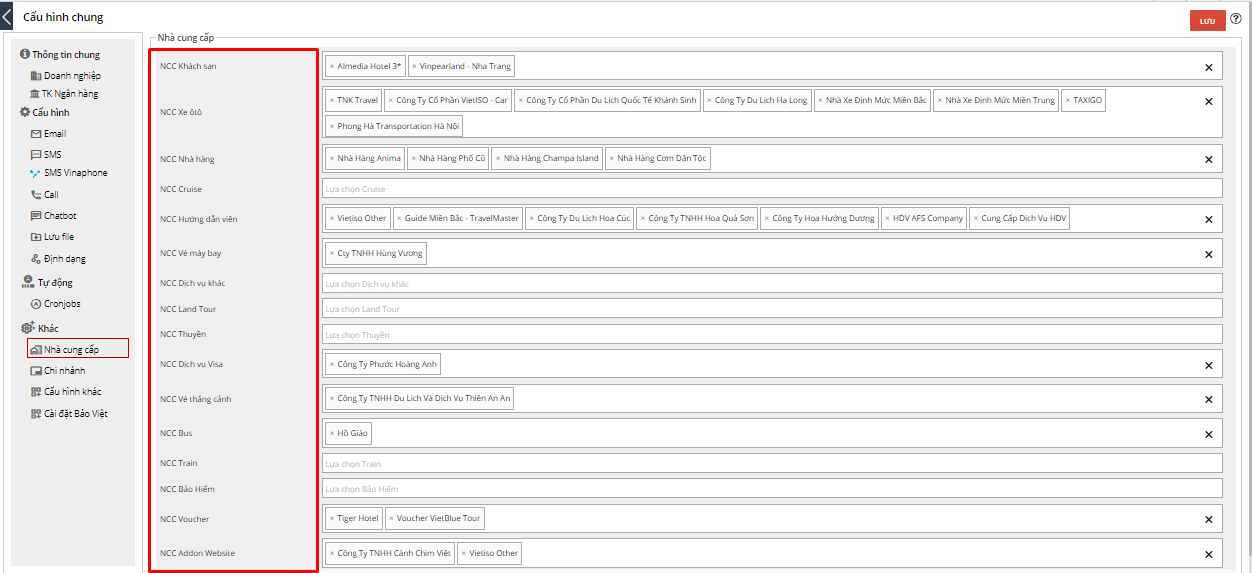
1. Configure the service provider
Manage self-service or pre-existing services. For example: Enterprise tour guide, Voucher, Air ticket... This data is for the service operator who can immediately confirm the service status without sending an email waiting for a response from the Provider. . .
Go to: System > General > Providers
At each type of NCC (Hotel, Attraction Ticket, Restaurant,...) click and select the name of the NCC managed by your business. Then click ![]() to complete the installation operation.
to complete the installation operation.
- Operation Area > Services Operation > Reservation Tab services under the NCC you configure will be highlighted in yellow, Operators just need to tick and click Confirmed or Stack Car or Stack Guide without sending an email to order service with the provider .
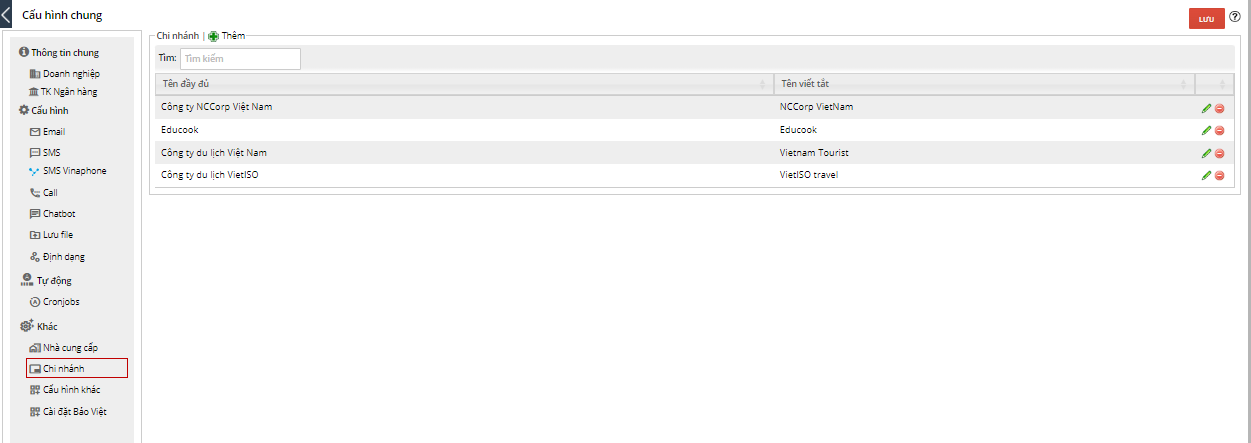
2. Branch
Manage brands or regional branches (if any) of the Enterprise:
+ To add a new brand, click Add and enter the data in the pop-up window.
+ When there are 2 or more brands, the system will display a list of Brands / branches as shown below:
- Click ![]() to edit data
to edit data
- Click ![]() to delete the brand / quick payment on the system
to delete the brand / quick payment on the system
Lưu ý:
- Information entered in General configuration > General information > Enterprises is the default brand on the enterprise's system. In case you do not choose a brand when creating a booking/Request/Quote, the system will display this brand by default. - Brand/Branch information will be used for application in the following regions:
+ User management: manage accounts by brand/branch
+ Booking: When creating a Booking, Request or quote on the system
+ Some form files are exported and printed from the system
3. Other configuration
a) Overview
+ Create a new booking: Check if you want to send 01 email to the customer when you create a successful Booking.
+ Default currency: The default currency used on the system.
+ Sales calculation date for sale: The date of revenue calculation is based on the date of booking creation or the date of first service use
+ Google Map API KEY: allows address fields in the system to use Google Map addresses
b) Prefix
This notation depends on the conventions of each business and custom

Areas where the sequence code convention applies include:
+ Booking
+ Supplier
+ Receipt
+ Request
+ Partner
+ Payment
+ Deduction
+ Product tour
+ Customer
+ Debit
For example: At "Booking" as B-, when creating a new booking on the system, the booking code will default to be displayed as B-1, B-2...
c) Private Tour Pax

d) S.I.C Tour Pax

- Click ![]() and enter a customer range to add a new customer range
and enter a customer range to add a new customer range
- Click ![]() to delete the guest space entered on the system
to delete the guest space entered on the system
After entering all information, click ![]() to complete.
to complete.