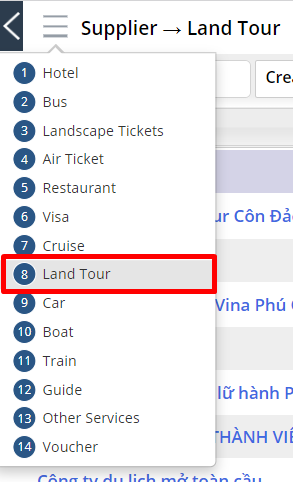
Land tour
Main Content
The Landtour Supplier system allows the management of Landtour suppliers.
More Information
Method 1: Import
Download the sample excel file on the right corner of the screen
Add the following minimum data requirements:

Image: Minimum data when import data
Note:
Data format & notes when adding data and uploading to the system, view here
If duplicate data: Supplier Name, Short Supplier name, Country name, City, Address, Rank, Email, Phone already available in the system, after Uploading the Import file, the system can't import (except for the case of ticking the box Allow to overwrite existing suppliers)
Method 2: Add new suppliers
 to save the basic information of a supplier
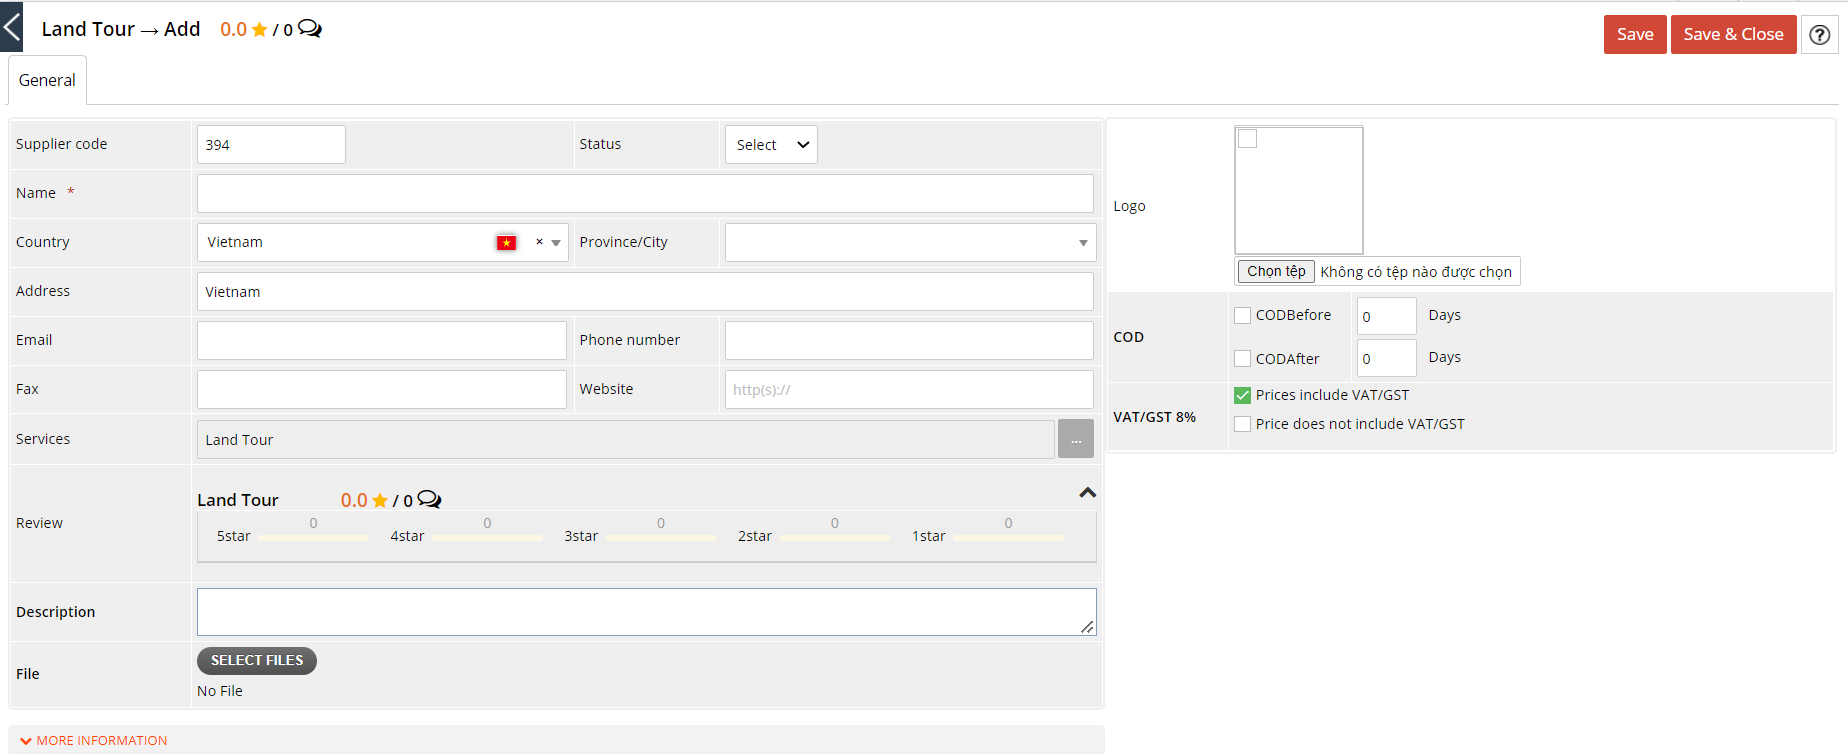

Including:
Code: to distinguish it from other suppliers, this code is automatically generated when add new, can be changed accordingly. Supplier codes can't be the same
Status: The status of the supplier in relation to the business
Name: Name of the supplier
Address: Address of the supplier, including 3 fields Country - City - Address
Email: Contact email of the supplier (When the Operator makes a booking with Supplier, this email is automatically used by the system)
Phone number/Fax/Hotline: Contact
Website: Website of the supplier
Services provided: Types of services that this Supplier provides in addition to Landtour services (tickets, restaurants, cruises, ..)
Evaluation: In the process of using the service, the customer can evaluate the quality of the service. The system will make statistics automatically based on those evaluations
Description: Description, general introduction of the supplier
File: Attach files related to the supplier such as contracts, business licenses, ...
![]() New: New supplier cooperates with business
New: New supplier cooperates with business
![]() Active: The supplier has cooperated with the business for a certain period of time
Active: The supplier has cooperated with the business for a certain period of time
![]() Failed: Stop cooperating
Failed: Stop cooperating
![]() Urgent: Preferred supplier
Urgent: Preferred supplier
![]() Closed: Supplier has stopped working
Closed: Supplier has stopped working
If one of the 4 fields: Supplier Name, Abbreviation, Bussiness License (or Tax ID) is added with other Suppliers in the system, the system will warn "Duplicate data error" as shown in the picture below. The system allows you to choose Continue saving or Cancel.

Image: Warning when data is duplicated with other Supplier in the system
b) COD: It is a function to set up a payment schedule between businesses and suppliers based on the date of service use

Including:
- COD Before: Pay for Supplier before the date of service use
- COD After: Pay for Supplier after the date of service use
Payment reminder email sending time will be based on COD time set here and payment reminder start time set in Cronjobs
Example of how it works:
- Service date is August 24, 2022.
- COD Before: 3 days => Payment date is August 21, 2022.
- Debt Supplier notification date: 7 days before => The system will send a reminder email to pay Supplier's debt on August 14 - 20, 2022.
- The system will send a reminder email to the Accountant's mailbox within the set time until the Accountant completes the payment to this Supplier.
Manage the list of created supplier contacts such as Director, Sales, Accountant,...

Image: Contact tab in the Supplier details
- Click ![]() to add a new contact, then fill in the required information
to add a new contact, then fill in the required information
- Click ![]() at the contact want to change the information. After editing, click
at the contact want to change the information. After editing, click ![]() to finish
to finish
- Click ![]() to delete
to delete
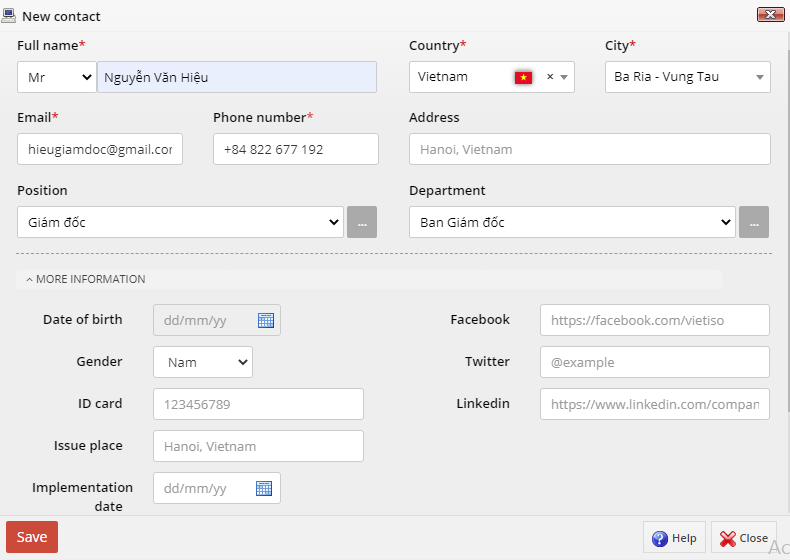
Image: Add new/ Edit a contact
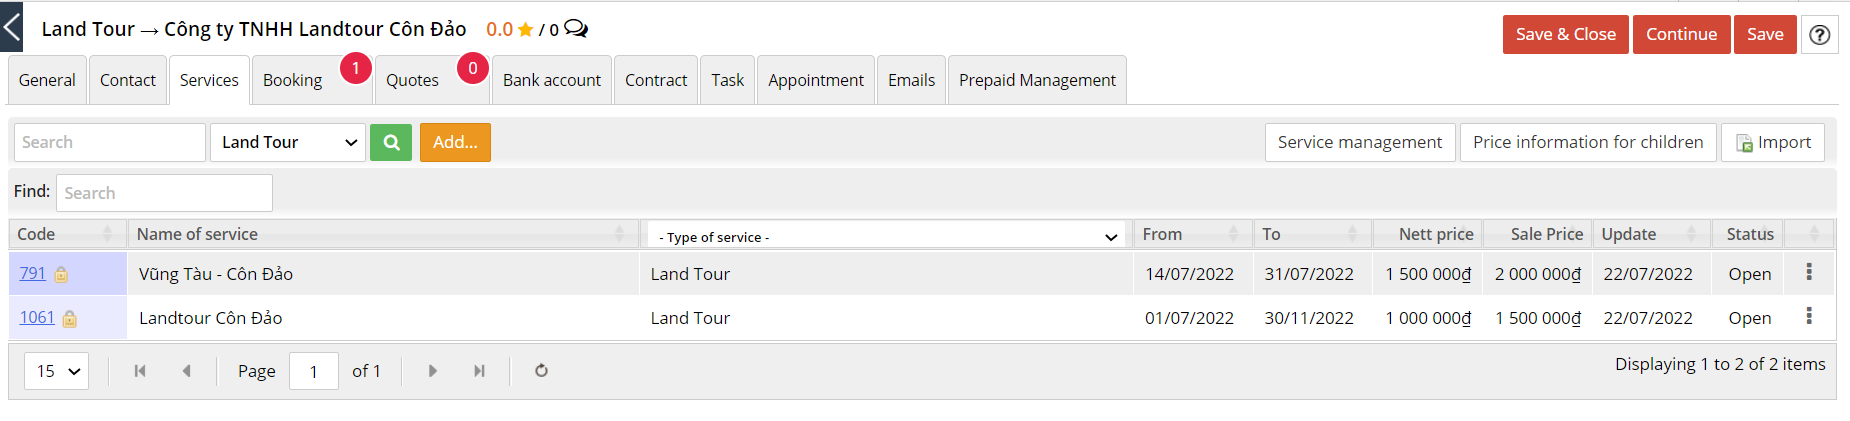
Include service information of the Supplier
There are 02 ways to add new services:
1. Import file
Download the Import file in the Supplier's Services Tab
Enter data according to minimum data requirements:

Note:
When adding the data to the Excel file, you need attention, view here
The system checks for duplicate product codes, so each service provided has a unique code, no duplicates
When copying data to a file, select Paste value only
2. Add Directly
Click
The required information includes:
Code: Service code
Name of service
Applied Time: The period under the contract to apply the price policy for Supplier
Currency: Select the currency of the service
Nett Price: The price paid to the Supplier
Sale Price: The sale price for customers of the travel company
Note: Bus program content or other information
VAT 10%: If the price in the contract is the price inclusive of 10% VAT, you need to tick this box so that when finalizing the tour, the system can extract VAT-In in the service price.
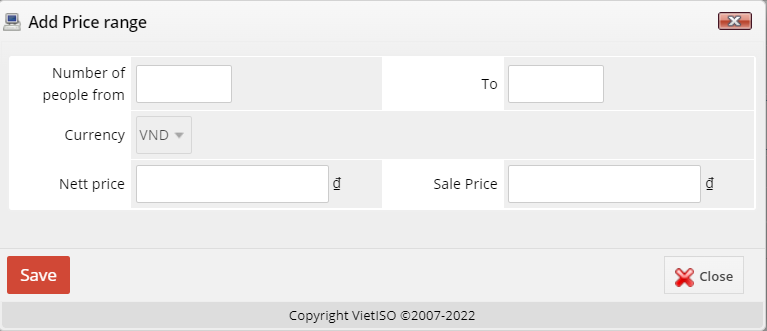
Price list: Manage service prices according to certain customer ranges (guest ranges must not overlap)
Note:
Icon
 will appear in the Code column for services that have passed the applied time period.
The service price can be selected in many different currencies in the list.
To view the service price update history, for the purpose of capturing the price increase or decrease after each change, click
 the system will display Price Change History.
Statistics of tours using the services of the supplier

Image: Booking tab in the supplier
 displays the total number of bookings/tours using the supplier's services
Select the time period from... to... then click
 to search for bookings/tours within the filtered period
Click
 to print the list of bookings/tours in the filtered period
Click
 to download the tour/booking list in the filtered period (format: Excel)
Click
 at each service to view its details
Statistics of Quotes related to that supplier in case that Supplier acts as a customer who wants to buy tour, the tab displays the number of quotes for the Supplier on the required tour.

Image: Tab Quotes in the supplier details
 is the number of Quotations generated for the Supplier
Click
 to add new quote
Click
 at the Quote you want to edit, then change the necessary information.

Click  to add a new Bank Account, information to be entered includes:
- Account number: Bank account number
- Account name: Bank account name
- Bank name: Name of the bank registered to open the account
- Open at a branch: Branch opens a bank
- Swift code: Bank-specific codes are used in global interbank transactions. Usually, Swift Codes need to be provided when making foreign transactions.
Note: The information fields when adding a new account are required to be filled in, cannot be left blank otherwise it is not possible to add a new account.
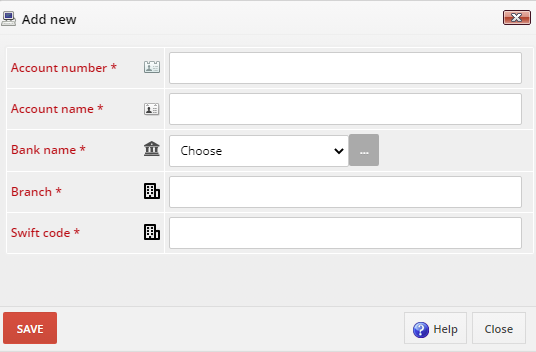
Image: Add a new bank account
After adding all information, click
 to save the added information.
Click
at the bank account you want to edit, then change the necessary information.Click
 at the Bank Account you want to delete to delete the Bank Account in the list.
Manage the list of Contracts signed between the enterprise and the Supplier

Image: Contract tab in the supplier details
Click ![]() to add a new Contract. Fill in the necessary information about the Contract, attach the file if necessary, then press
to add a new Contract. Fill in the necessary information about the Contract, attach the file if necessary, then press ![]() to finish. Any fields that are not necessary can be omitted.
to finish. Any fields that are not necessary can be omitted.

Click
at the contract which you want to change information.After editing, click
to finish.Click
to detele the contract.Click
to view the contract
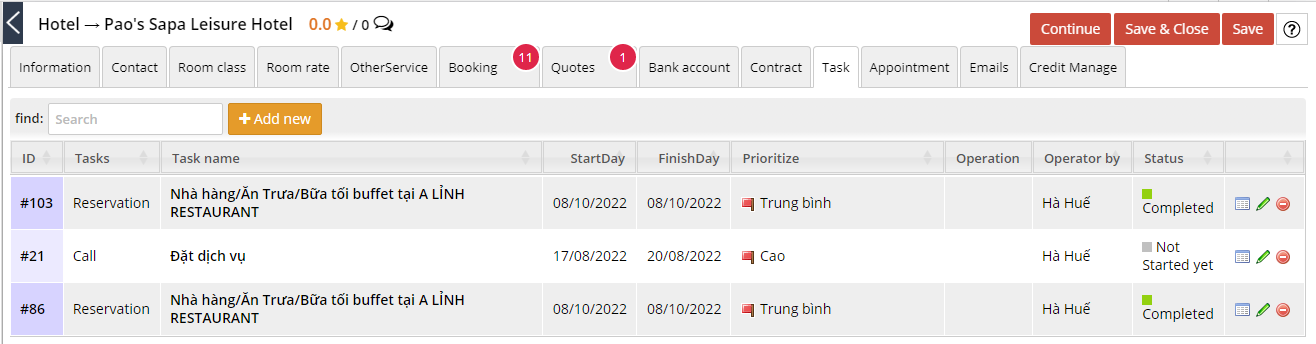
Image: Tasks tab in the details of the Supplier.
Click ![]() to add new task. The information to enter includes:
to add new task. The information to enter includes:
- Task name: Title of working
- Estimated Time: Suggested time to do the job, deadline
- Operate by: Select the recipient of the working, the system displays a list of all user accounts in the system. Multiple people can select at the same time. When clicking Save job, the job recipient will be notified through Email
- Task: Categorize work
- Priority: The importance of the working so that the recipient can arrange a reasonable time to finish the work
- Description/ Note: Detailed content of the working, notes of the Assignor to the Recipient
- Attachment: Attach files related to the assigned work. After adding the information, click to finish
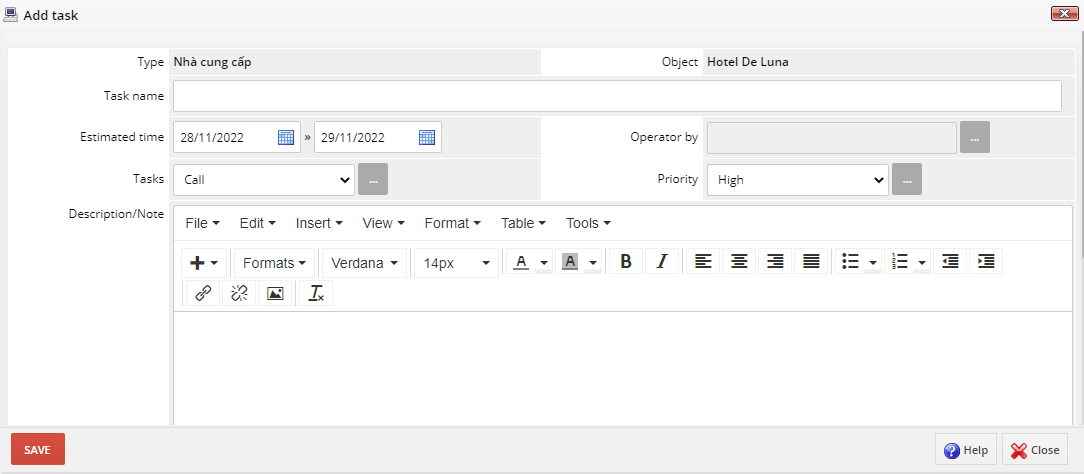
Image: Add new task
Click
at the task which you want to change information.After editing, click
to finish.Click
to detele the Task.Click
to view the Task
Manage a list of scheduled appointments with the Suppliers.

Image: Appointment tab in the Supplier
Click to add a new appointment, the information to enter includes:
- Content: Appointment content. This is a required field to be filled in.
- Location: Working place, working exchange
- Type of work: Choose how to handle work
- Starting date - Finishing date: Date of appointment
- Description/ Note: Explain the content, outline through the content, the purpose of the appointment
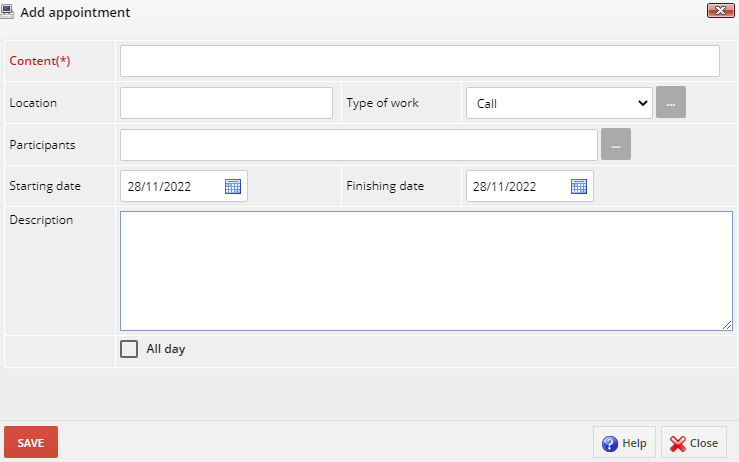
Image: Add new Appointment
- Click at the Appointment which you want to change information.
After editing, click
to finish.Click
to detele the Appointment.- Click to view the Appointment
This tab statistics of all emails booked with the supplier. Bookings with the Supplier are performed in the Operations.

Image: Tab Email in the Supplier
Click ![]() to view or delete email content booked with the Suppliers.
to view or delete email content booked with the Suppliers.
To resend the email to Suppliers, click ![]()

Image: View the email content sent to the supplier
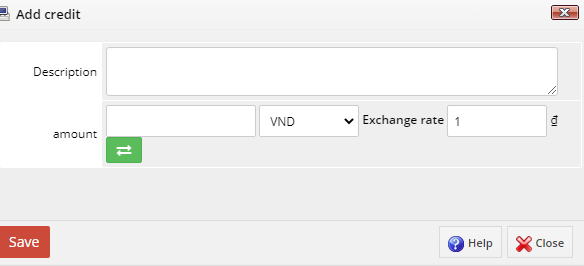
Manage the amounts paid to the Suppliers but not yet used, deduct payment for the next service
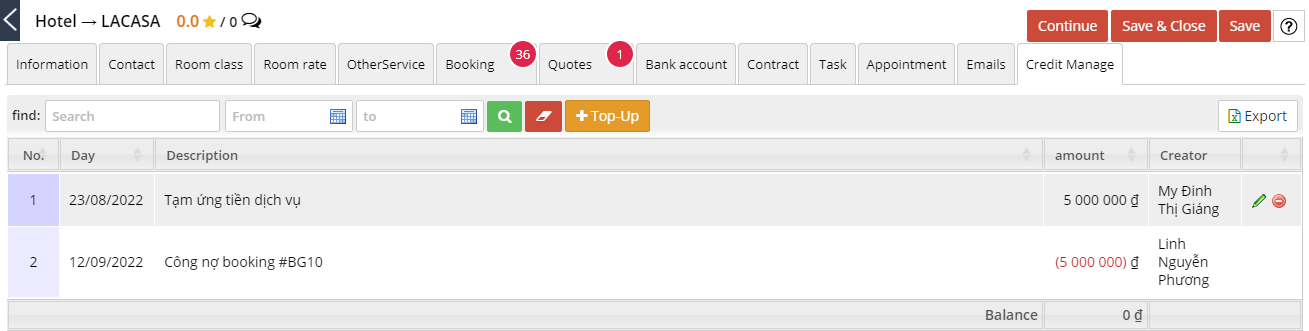
Image: Credit Management of the Supplier
Click  to top up the Supplier's prepayments.
Including:
- Description: Explain the reason for the deposit
- Amount: Additional recharge amount
- Currency unit: Select the appropriate currency.
Click
to correct the amount of the deposit added.Click
to Remove additional deposited funds.
Note:
Amounts in parentheses () are those that have been used, then the system deducts from the total amount deposited and display in the Balance section.
If the Balance shows the amount in parentheses, the deposit amount is negative and businesses need to Top-up to use it for the next service of the Supplier.
